Create an exam
Let’s create an exam using questions already in the database.
Creating an exam using existing questions
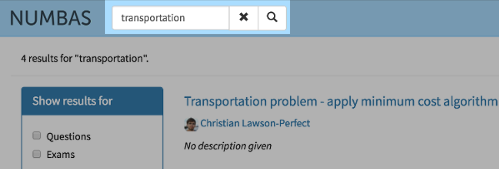
On your home page, click on the Questions link under Browse the public database. You can use the options on the left to filter the results, or use the search box at the top of the page to search for content that you are interested in.
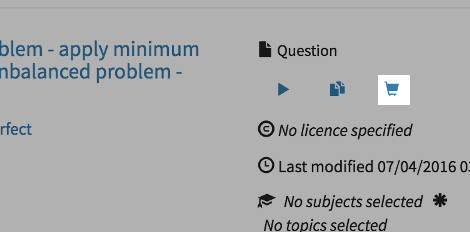
Once you have found a question that you are interested in, click on the Preview icon to try it out. If you are happy with the question, click on the basket icon to add it to your question basket.
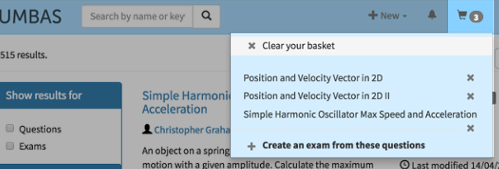
Once you’ve collected a few questions, click on the basket icon at the top of the page, and then click Create an exam from these questions. You’ll be taken to the editing page for your new exam.
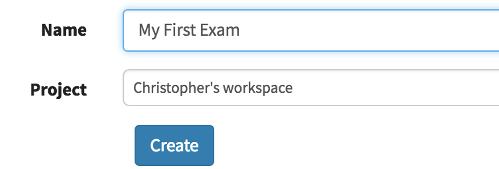
Enter a name in the text box. Below is a drop-down list of projects that the exam can be assigned to. By default it will be added to your personal project.
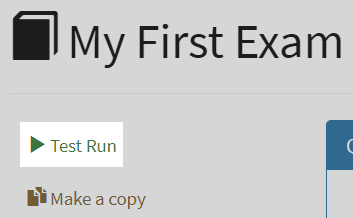
Once created, you can try out your exam straight away. Click the Test Run link in the sidebar on the left. The compiled exam will open in a new window and you can have a go at answering the questions.
Once you have tried out the exam, close its window and return to the exam editor. Consider adding some text to the description field. The description should be short – one or two lines – and will appear underneath the exam’s name in the exam listing page.
Adding more questions to your exam
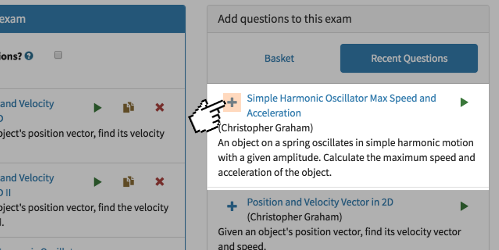
On the editing page for your exam, click the Questions link in the sidebar to go to the question selection area. On the left is space for your selected questions, and on the right are tabs offering different ways of finding questions to add. The Recent questions tab shows questions you have recently edited. The Basket tab shows questions you’ve added to your basket: you can browse the question editor to find questions, add them to your basket, and then go back to the exam editing page and add them in.
You can click on any question’s name to open it in a new window. This is useful to verify that the question contains content that you find relevant before including it in your exam.
Click the plus icon on one of the question results to add it to your exam.
You can drag and drop questions in the list on the left to reorder them.

The changes that you make to the exam content are active immediately. You can see how your exam looks by clicking on Test Run again.
Publish your exam
Once you’re happy with your exam, why not publish it the public database so others can use it? Before you can publish an exam, you must fill out the metadata fields so others can find it easily:
Give the exam a name.
Write a description.
Select a licence under which others can use your exam. Make sure this doesn’t conflict with the licence attached to your exam’s questions.
Your exam must contain at least one question.
Once you’ve filled out the required fields, click on the Access tab, and then click Publish. Your exam will now be included when anyone searches the public database.